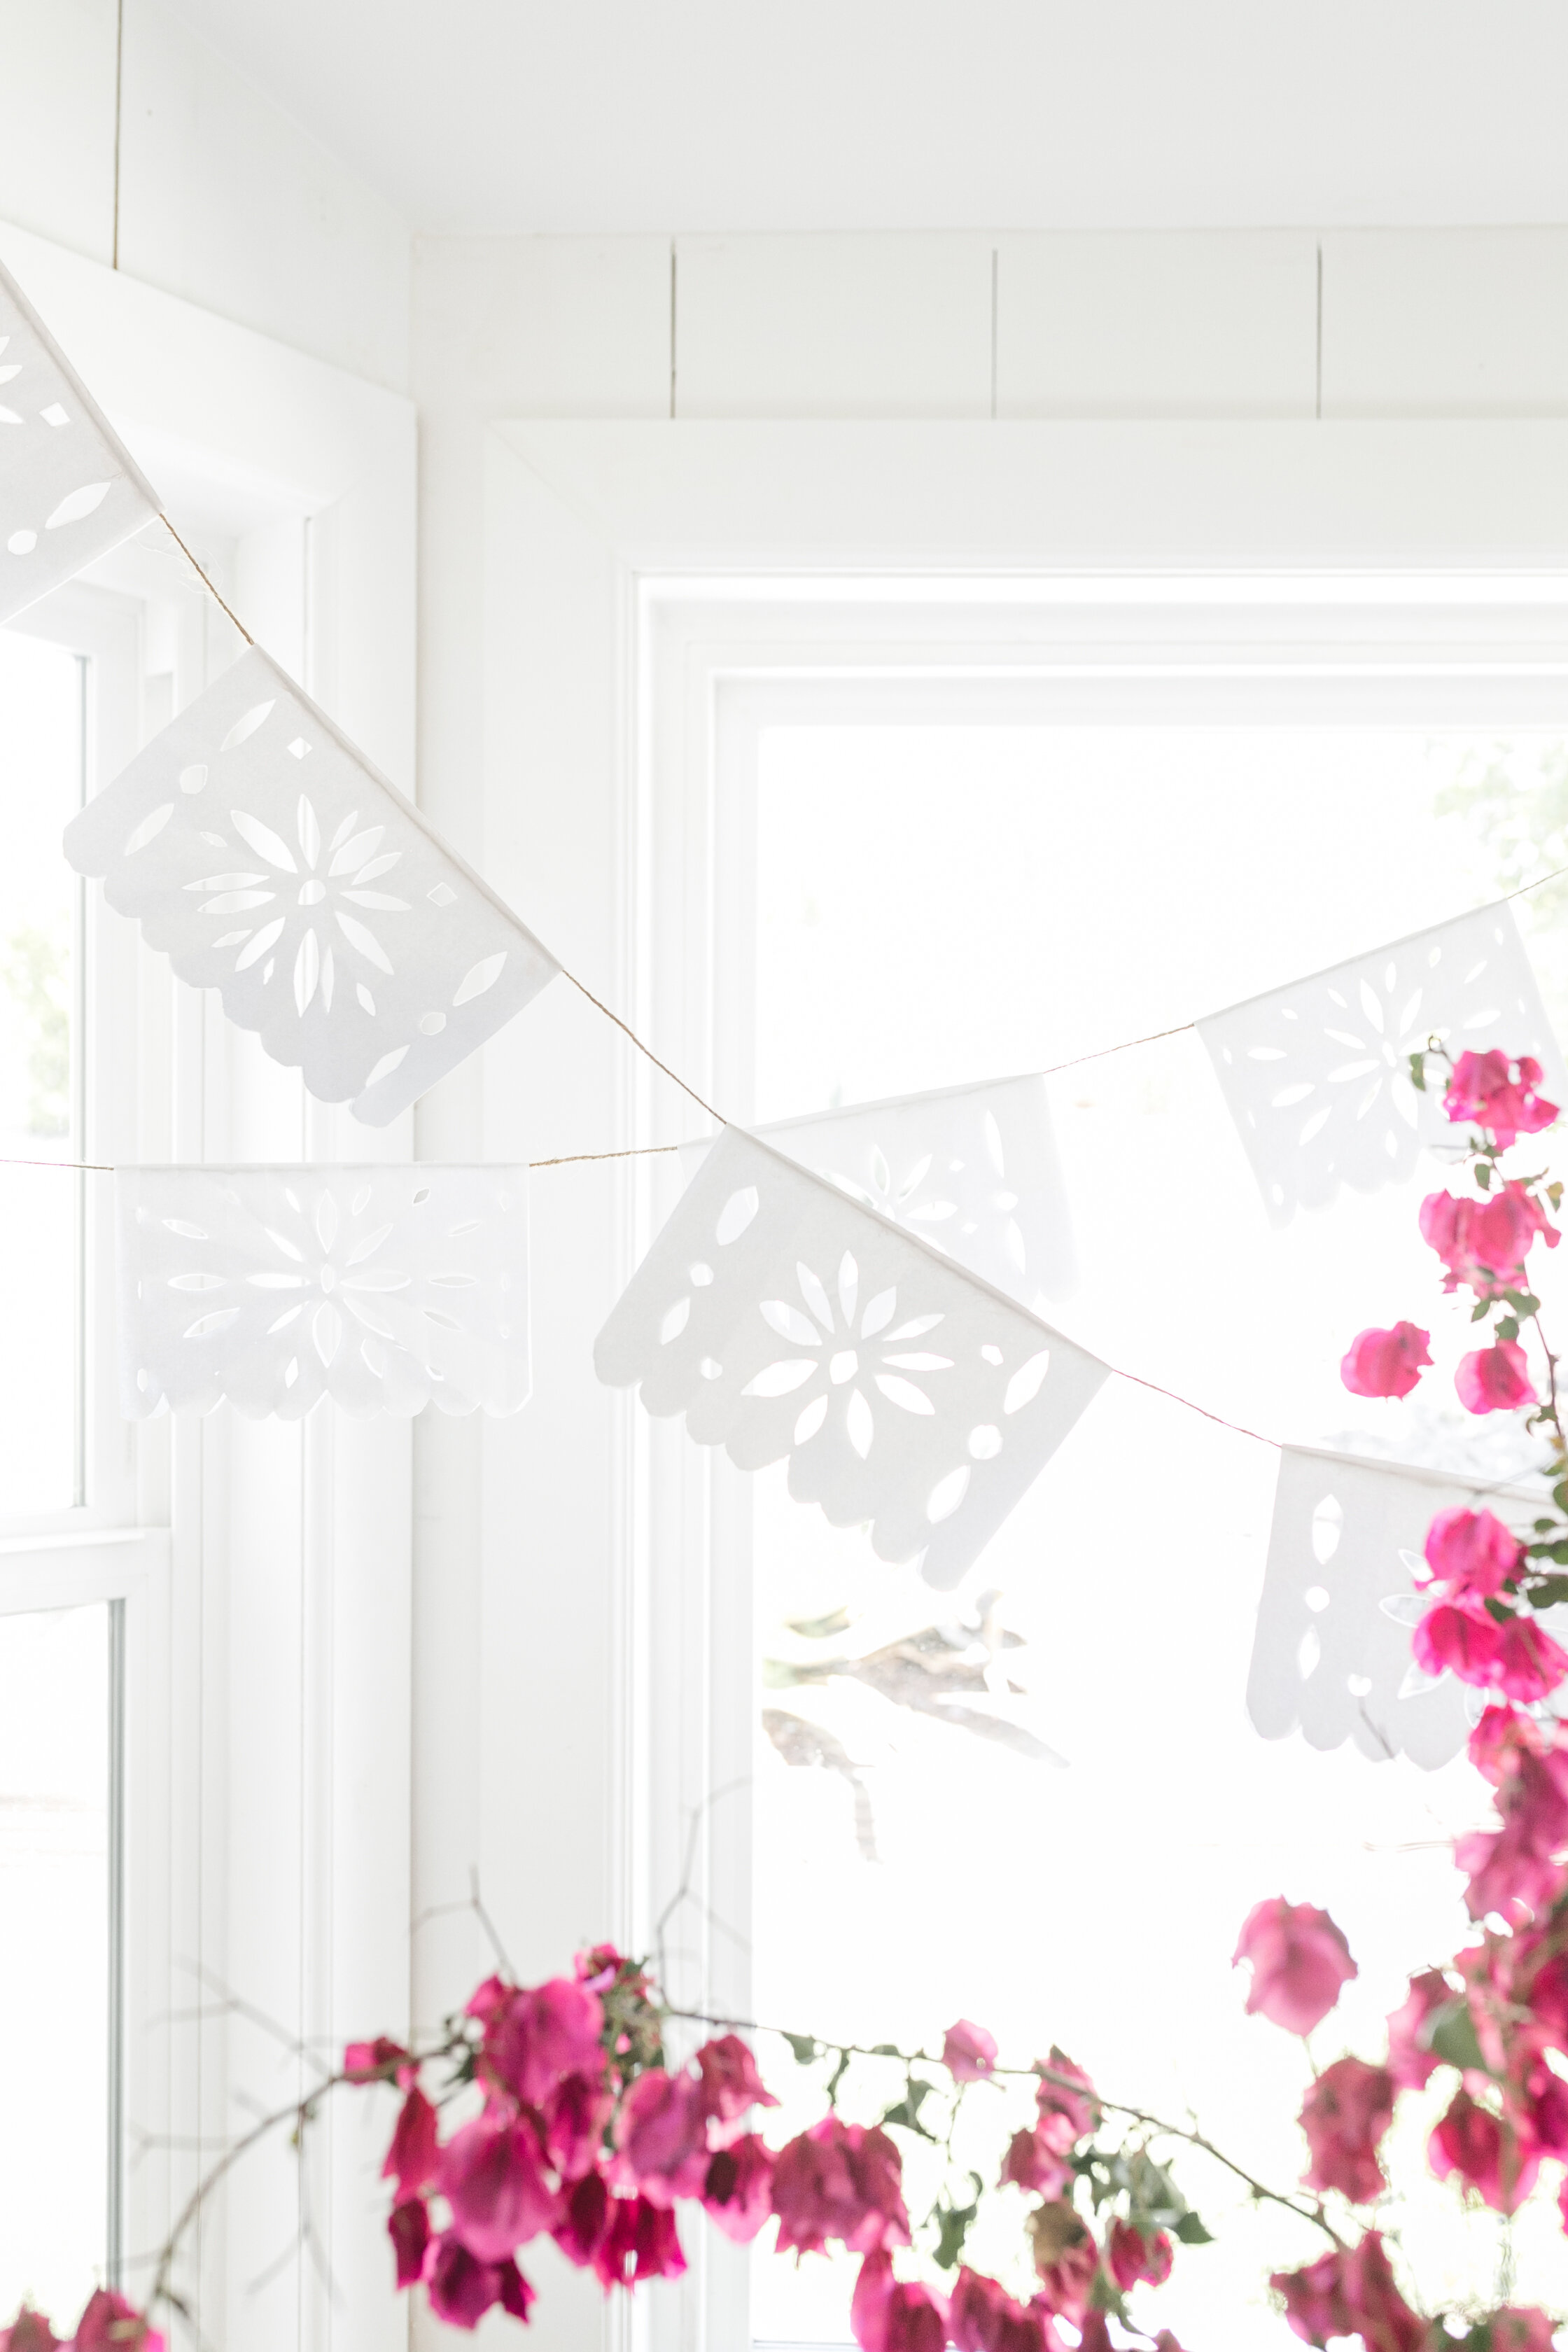
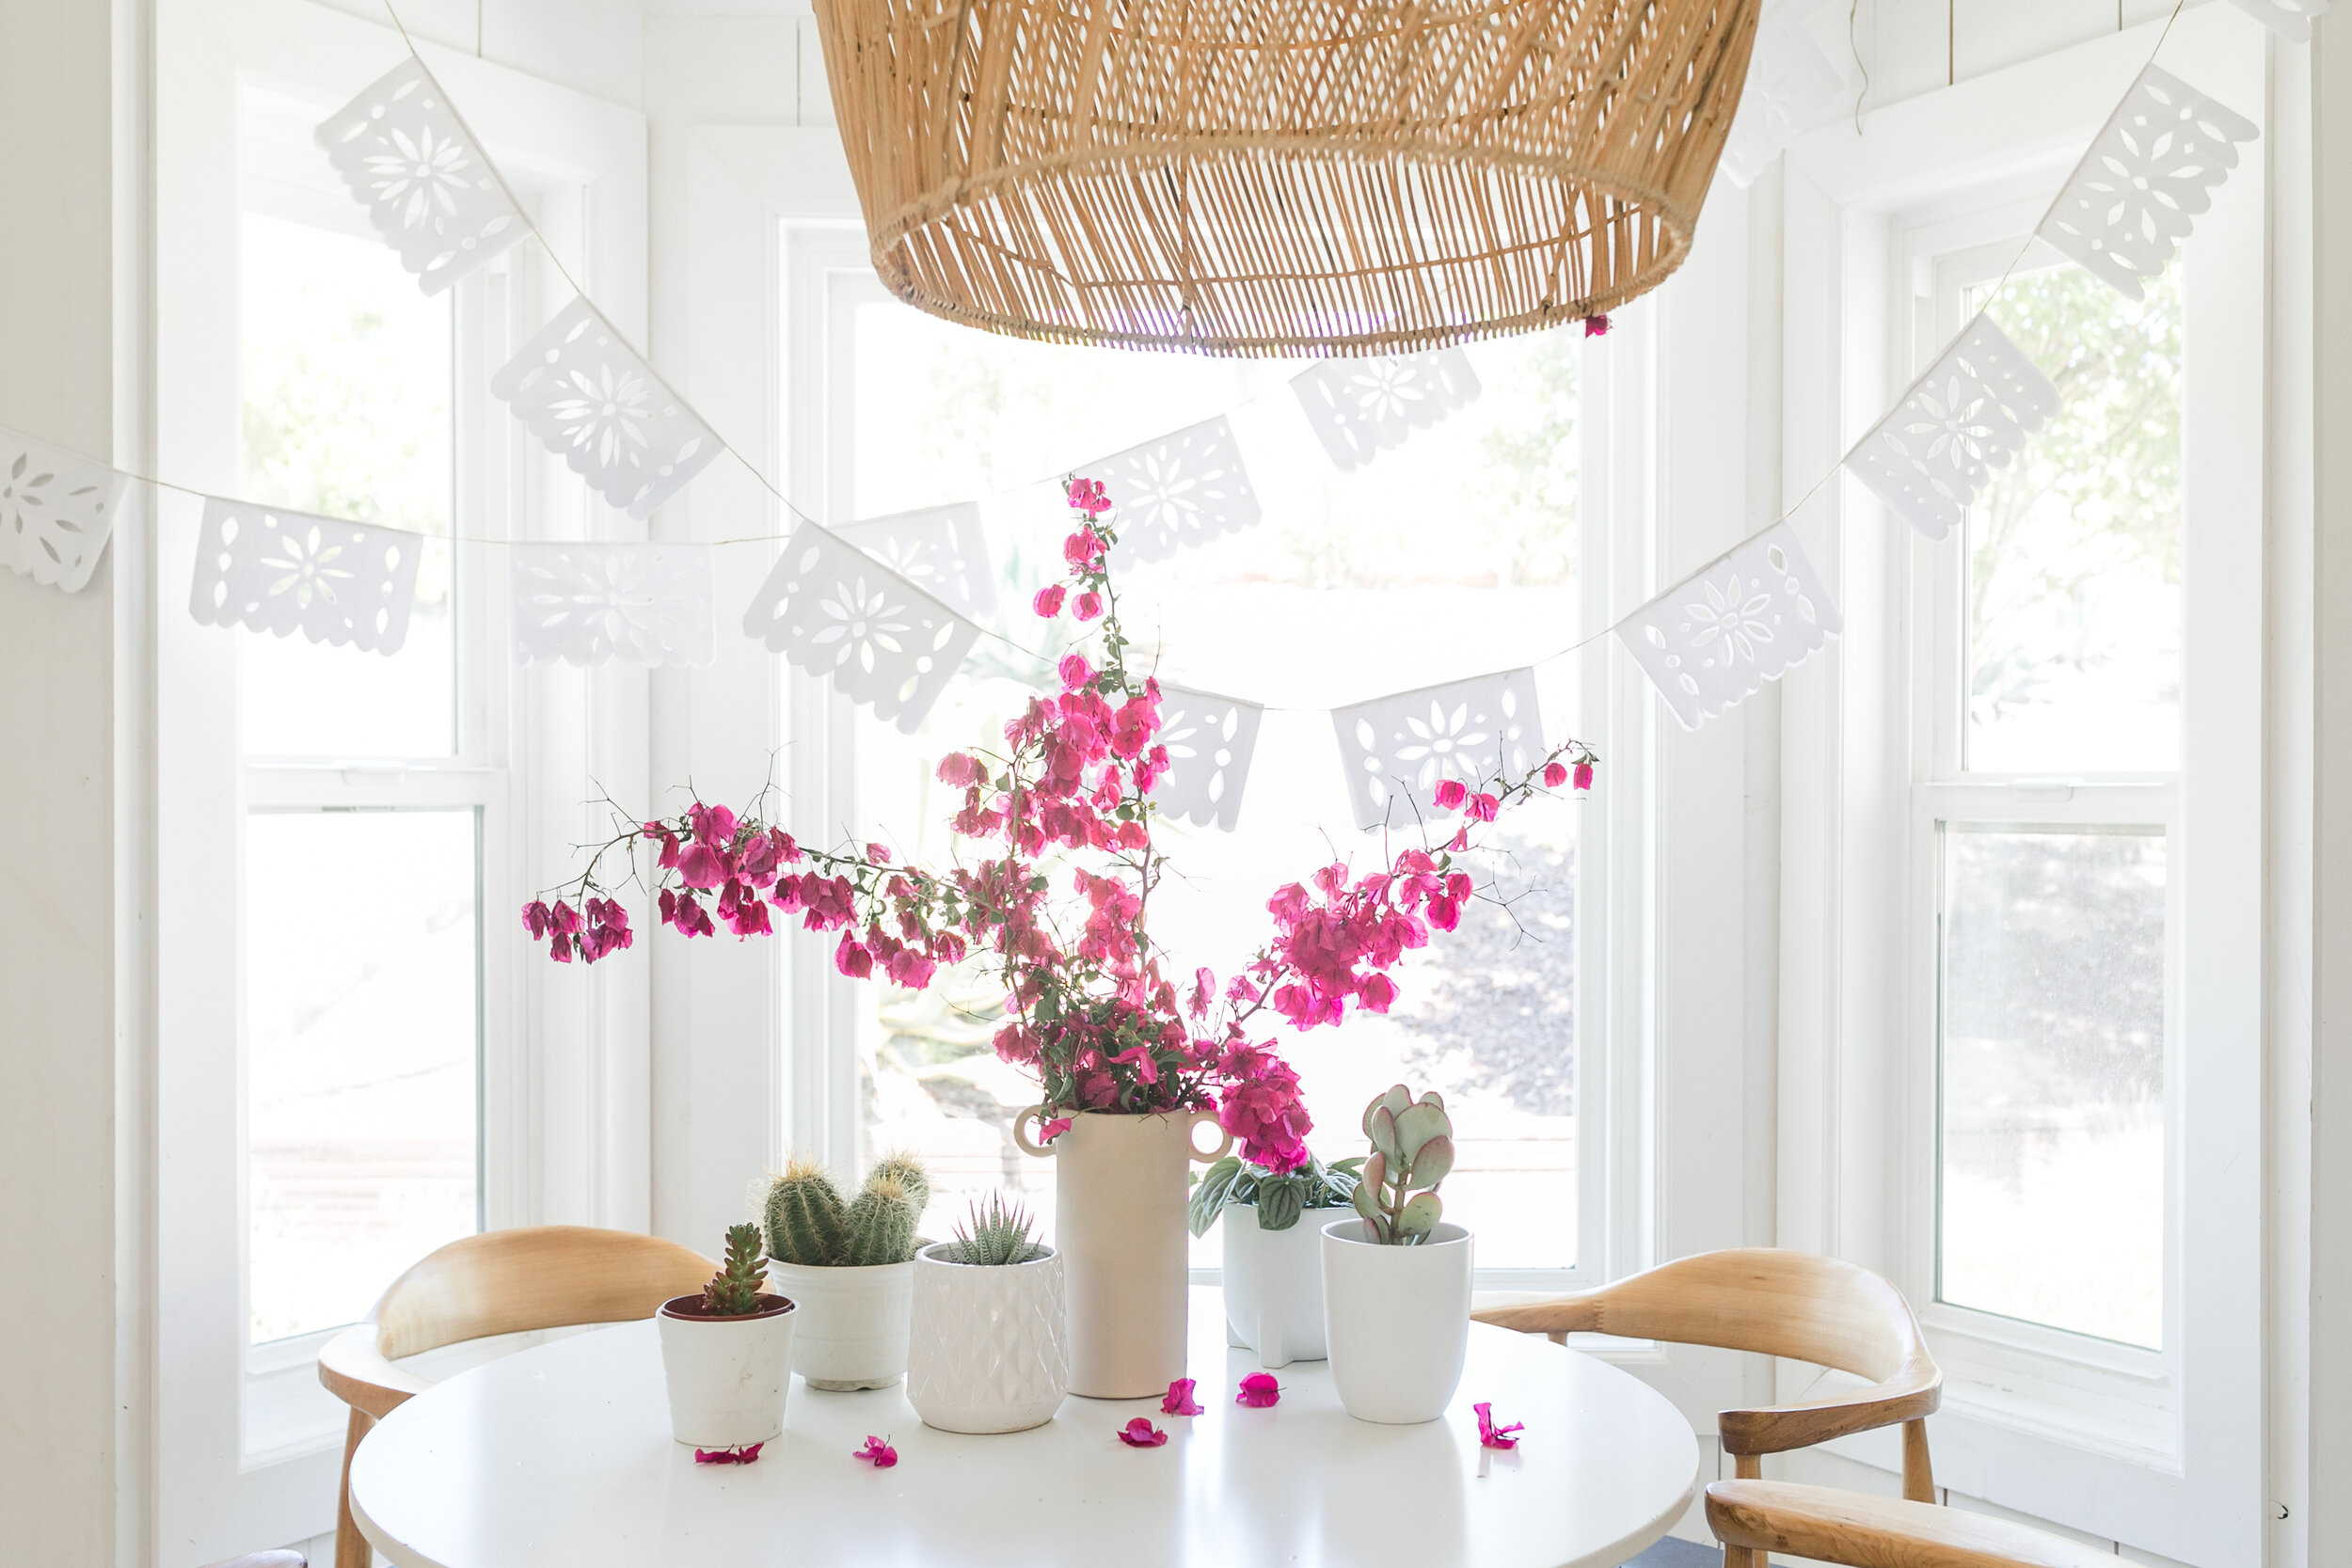
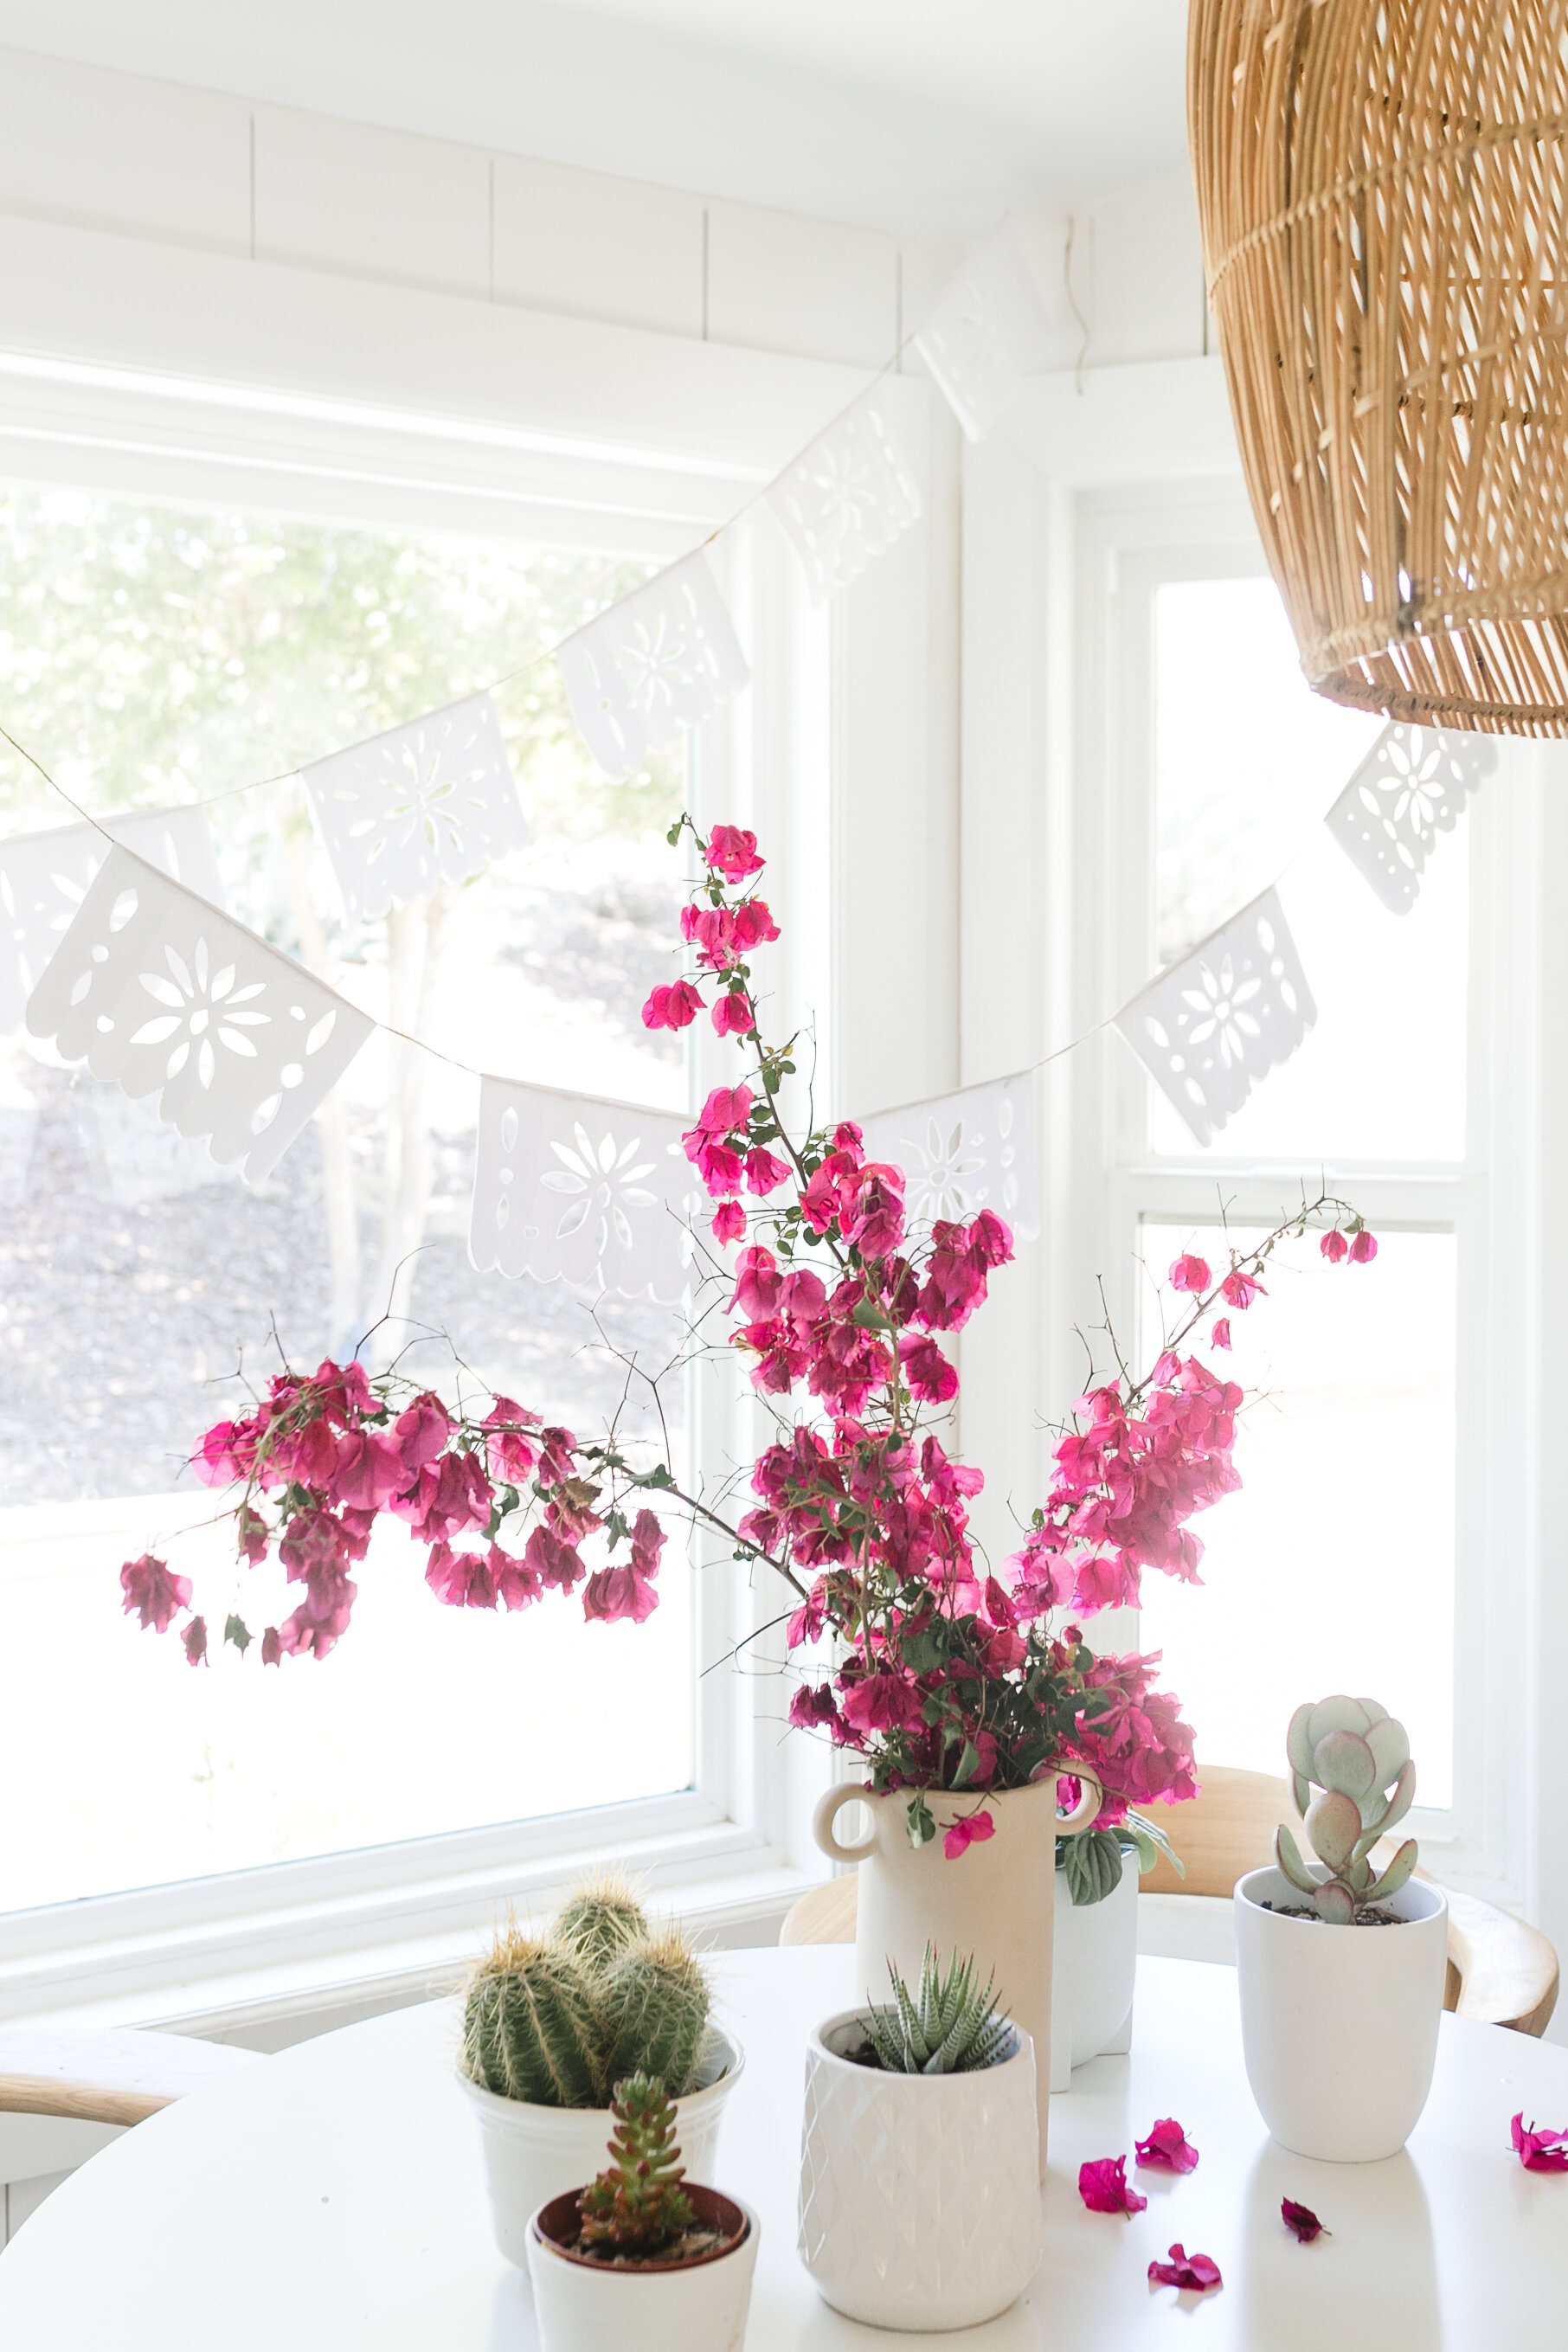
diy: papel picado banner
In the spirit of Cinco De Mayo falling on Taco Tuesday this year and the fact that we are desperately in need of things to look forward to: we are going all out this year celebrating a holiday that we don’t usually do much for haha. I’m talking margaritas, homemade Choco Tacos (recipe coming soon) and this DIY Papel Picado Banner we made out of printer paper (you can use any colored paper but we didn’t have many options to choose from and lately Ive been big on trying to use what I have before buying.) You could even use crepe paper, old paper grocery bags, leftover gift wrap… whatever you have on-hand! My daughter is 10 and she stuck with me through the whole thing and even made her own banner entirely herself and my 7 year old son Lennix was in and out of interest but everyone including my two year old loved the gluing and assembling part- so it was a fun, family friendly activity for all! If you get lost along the way with the written directions, I’ve included the video here also for a more visual reference (taking a sec to upload)!
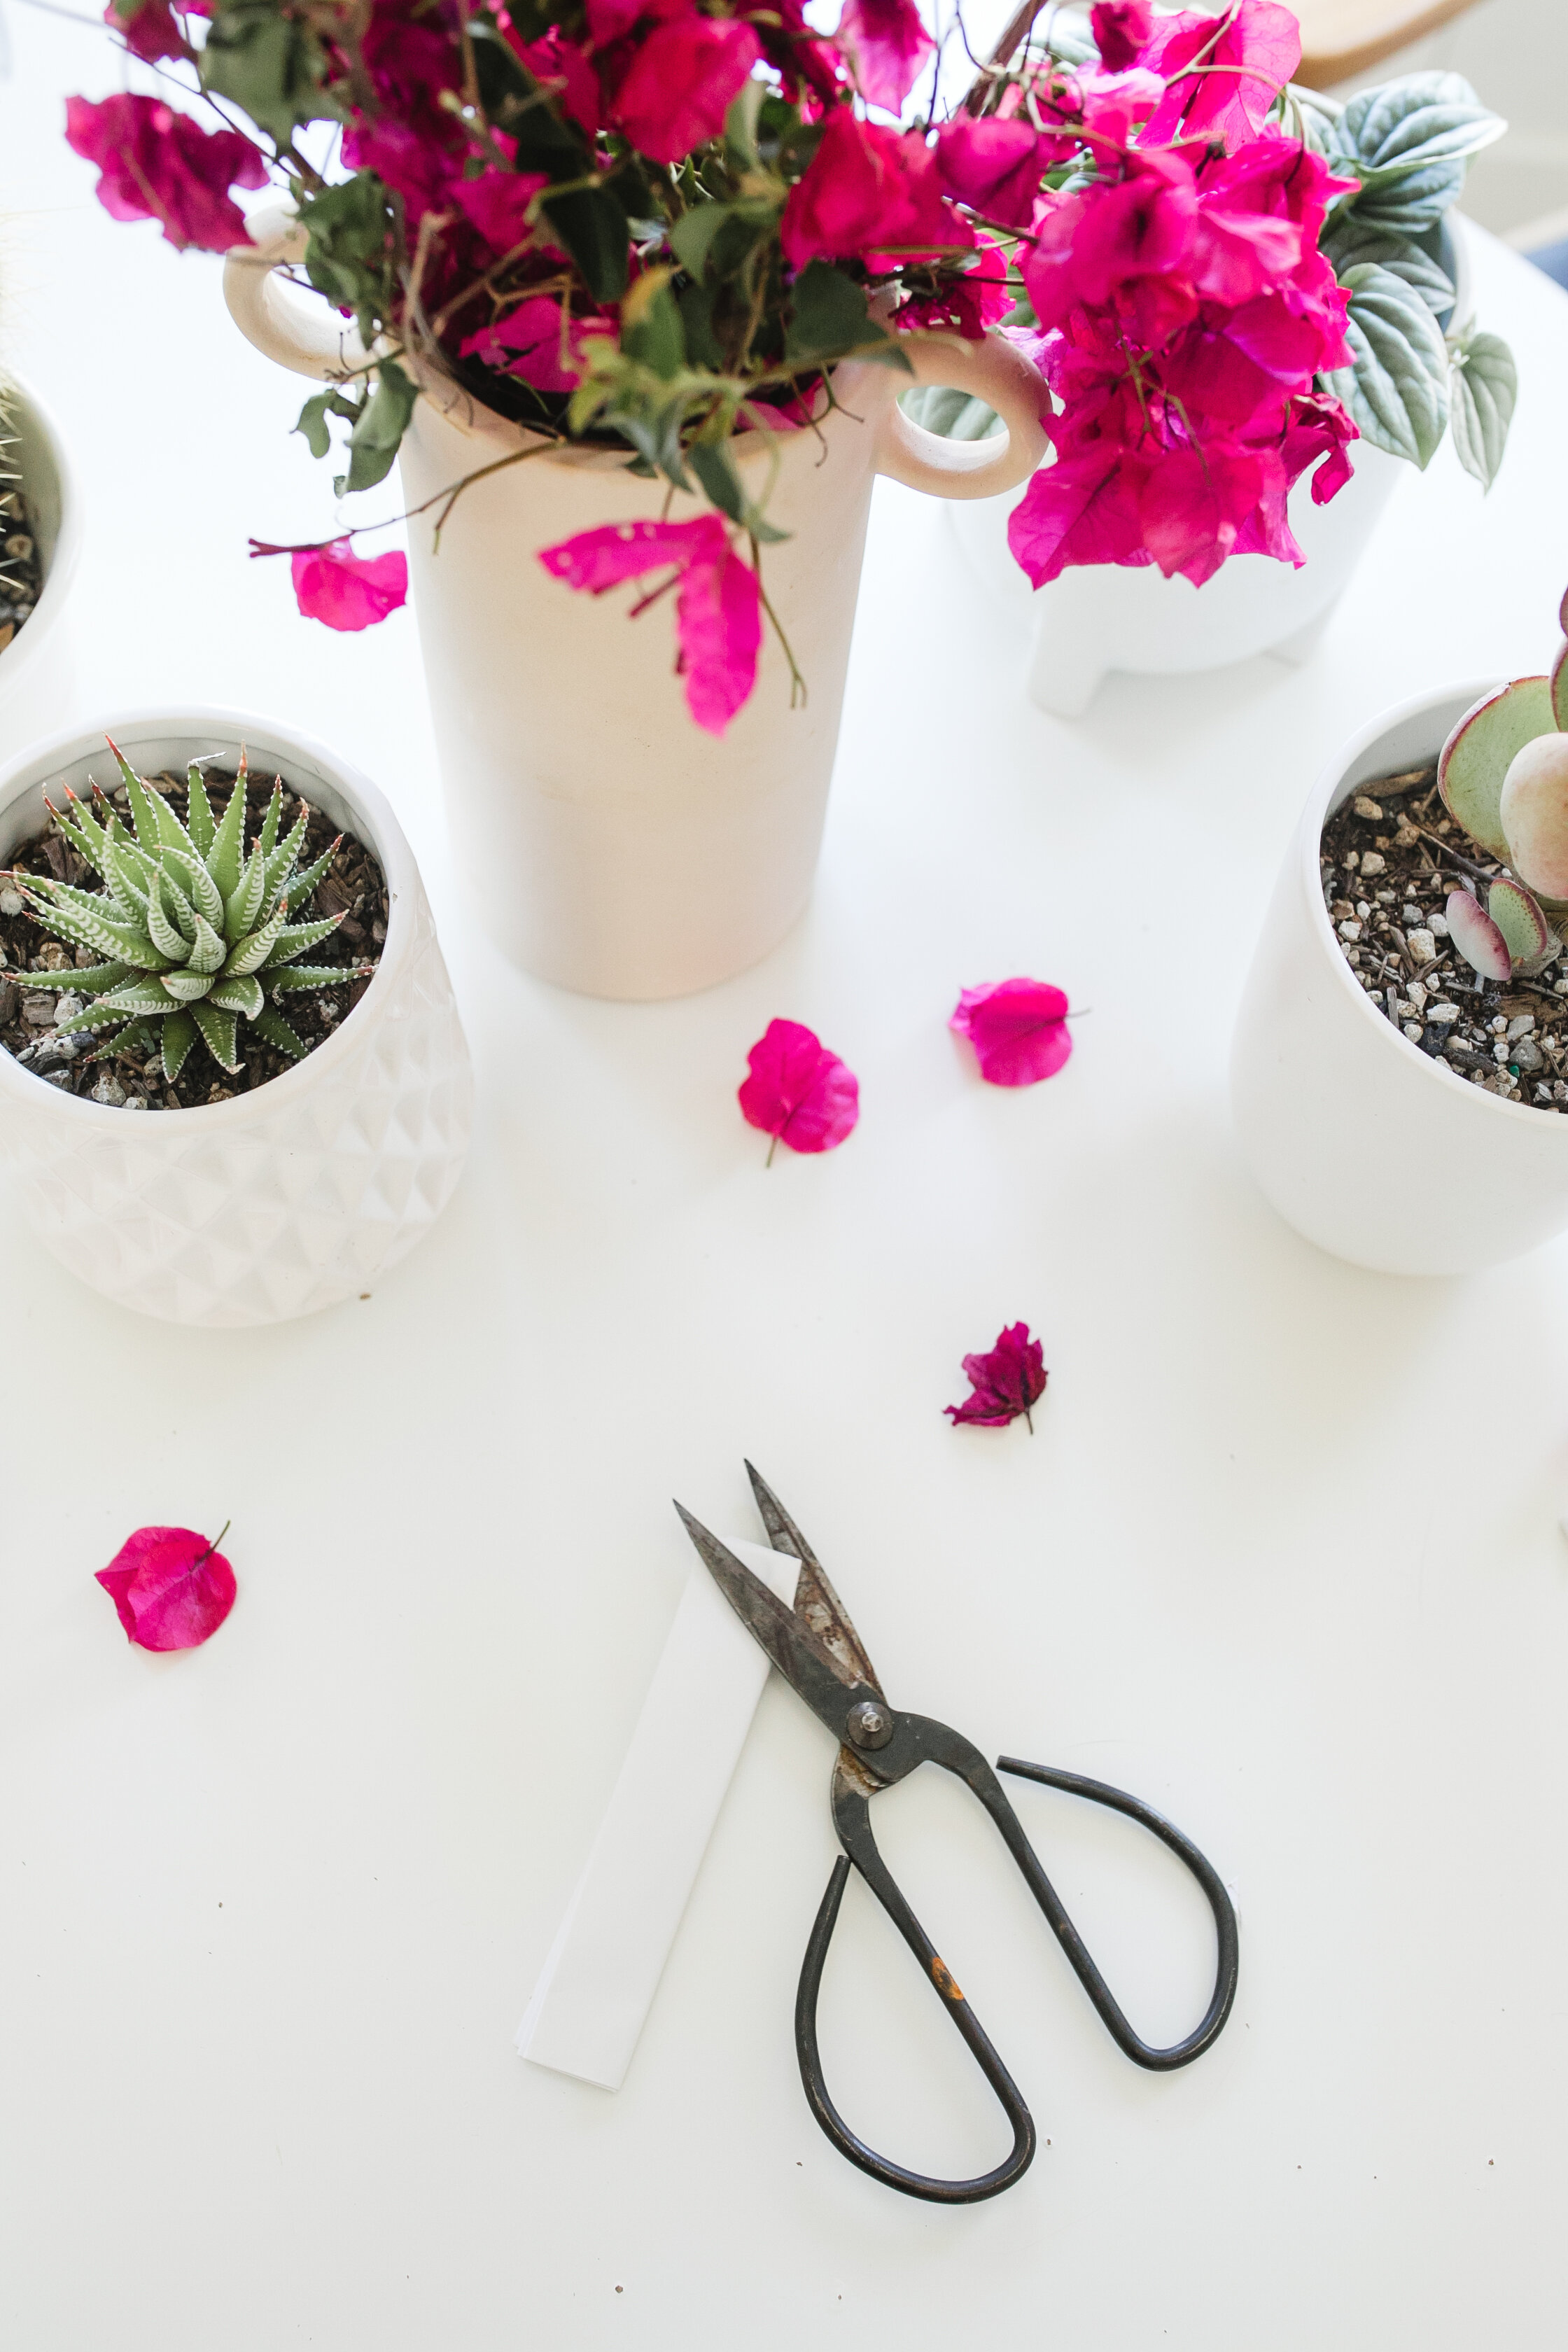
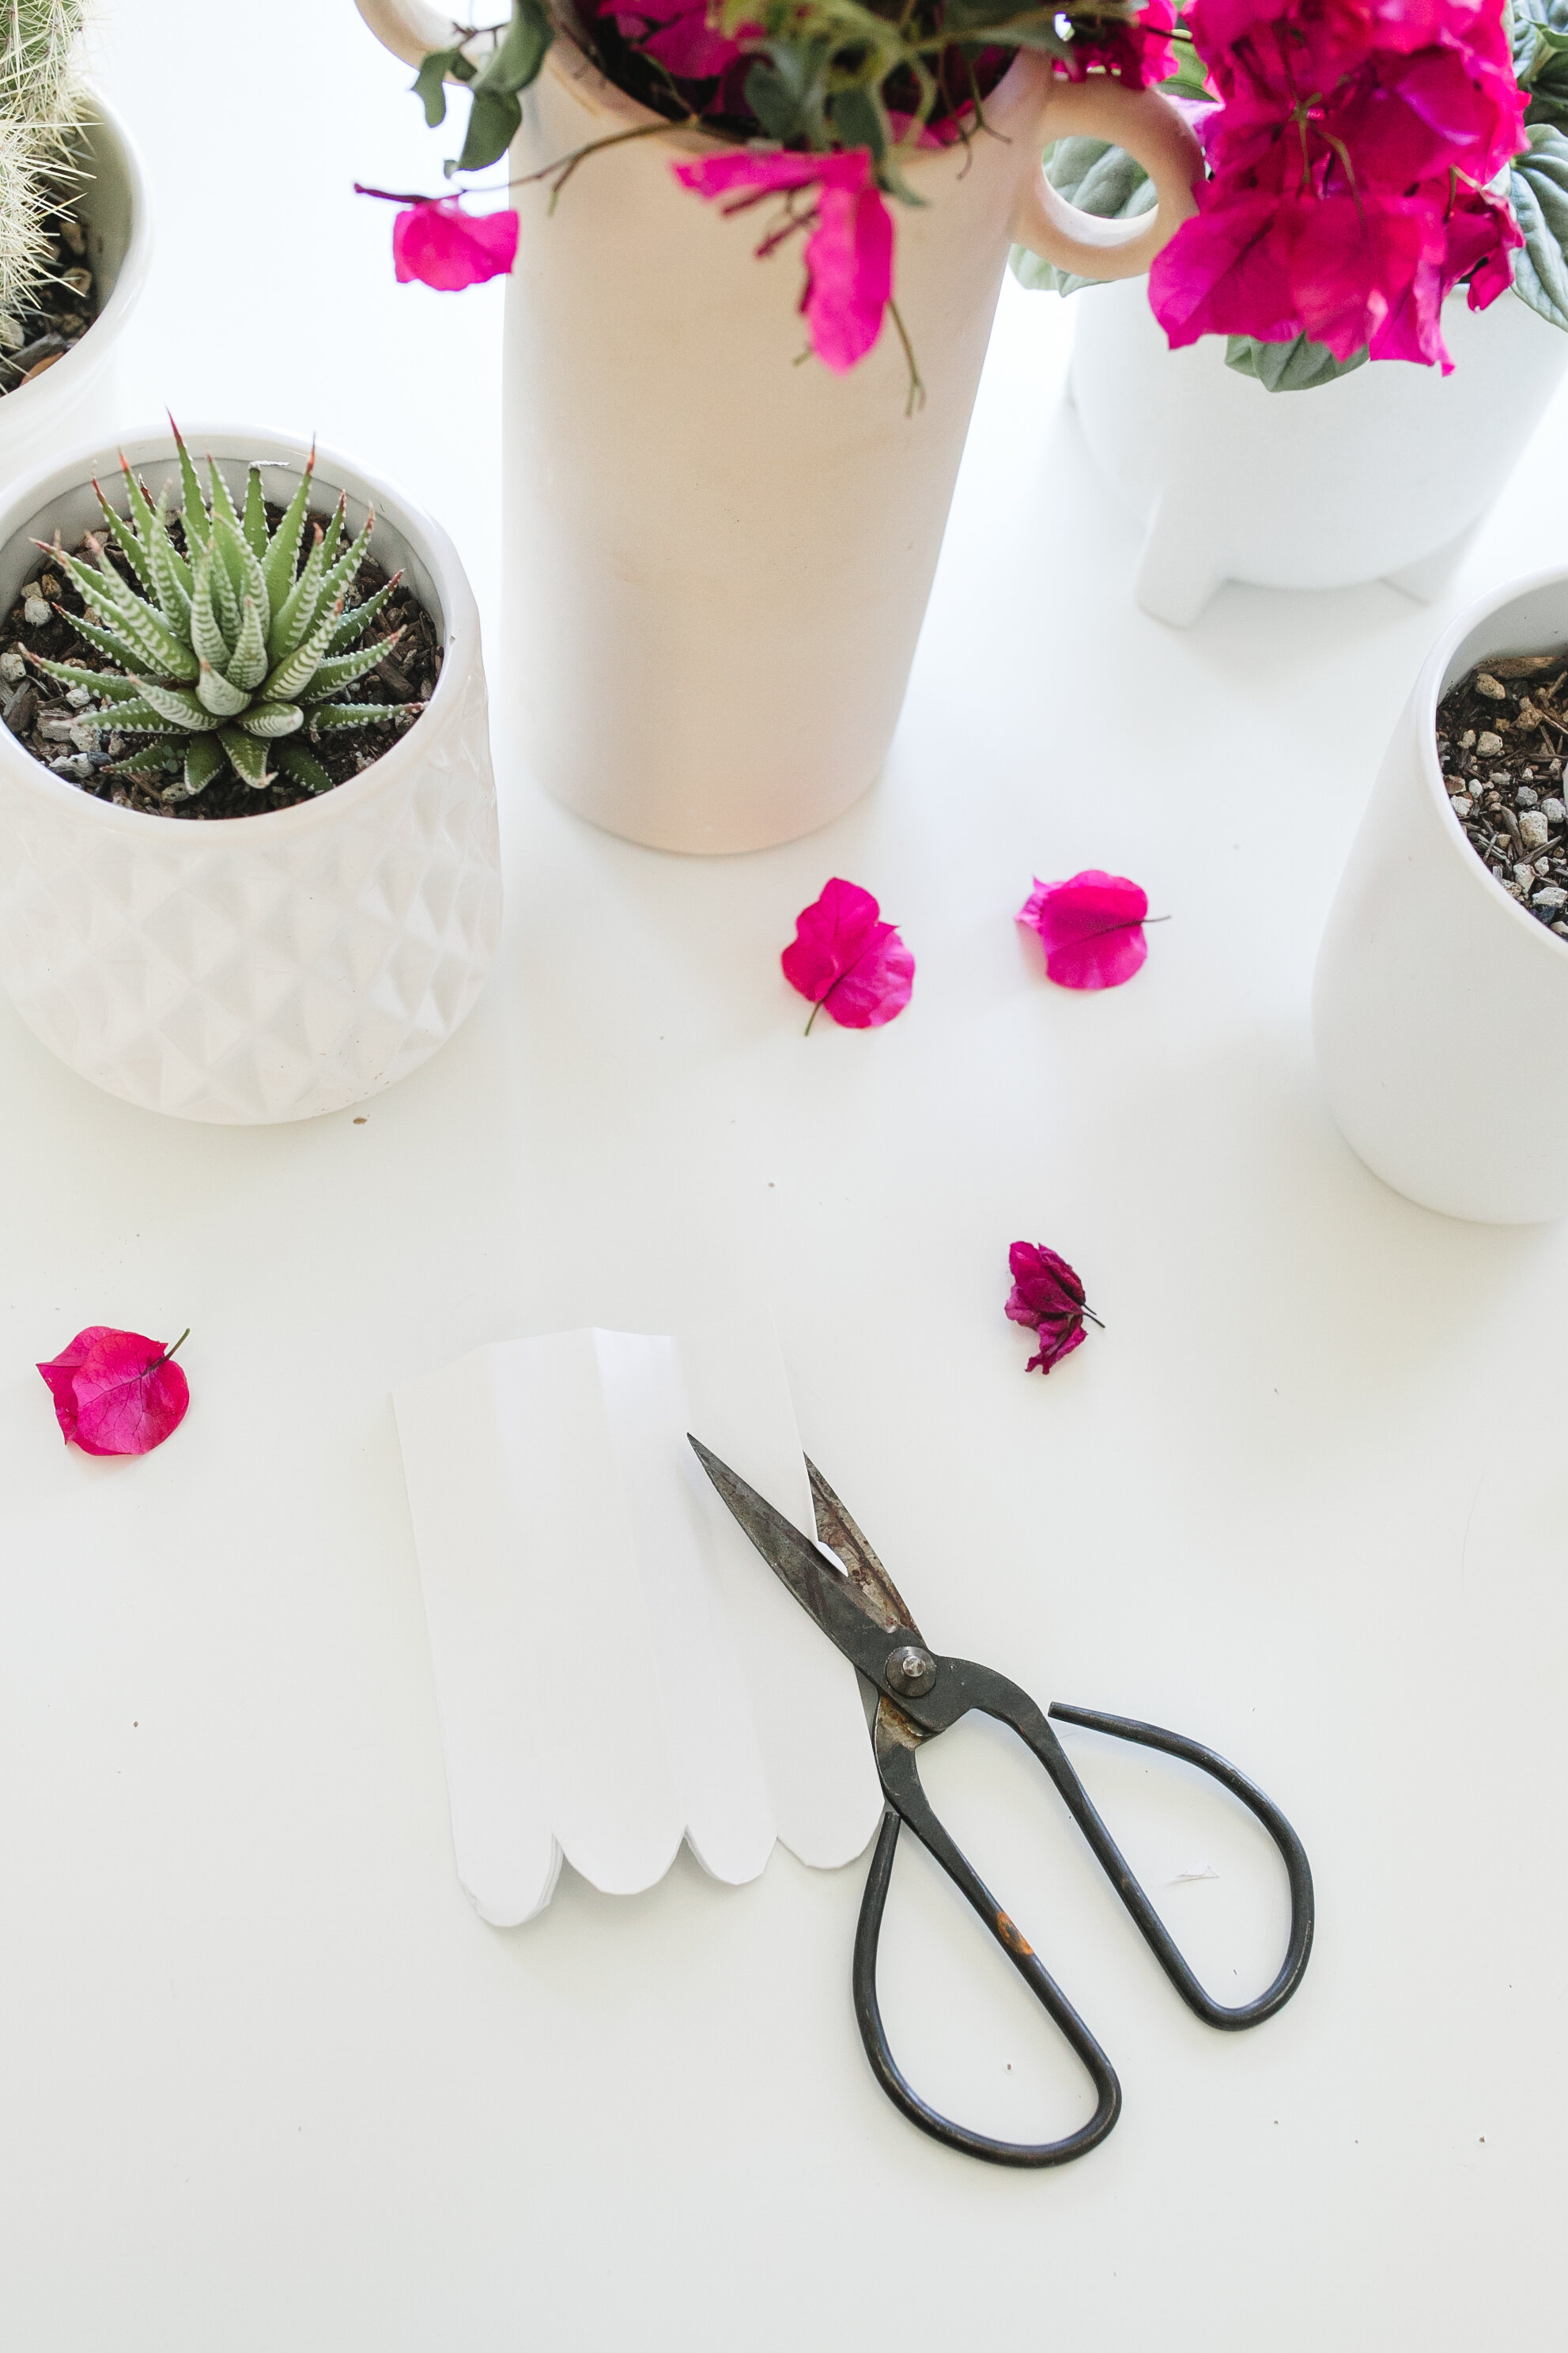
Here’s what you’ll need:
twine
scissors
glue stick
printer paper (or crepe paper, tissue paper, old gift wrap, paper bags- whatever you have on-hand!)


Here’s how you make it:
To create the bottom scallop:
fold your 8x10 paper in half. Your banner will be hung along that crease- so make sure you never cut along that upper folded edge! Fold it in half again. Fold it in half again. And again one more time. Cut a curve along the bottom ensuring its the side that has all the open edges of the papers (not that folded edge). open up your banner and take a look at that cute scallop!


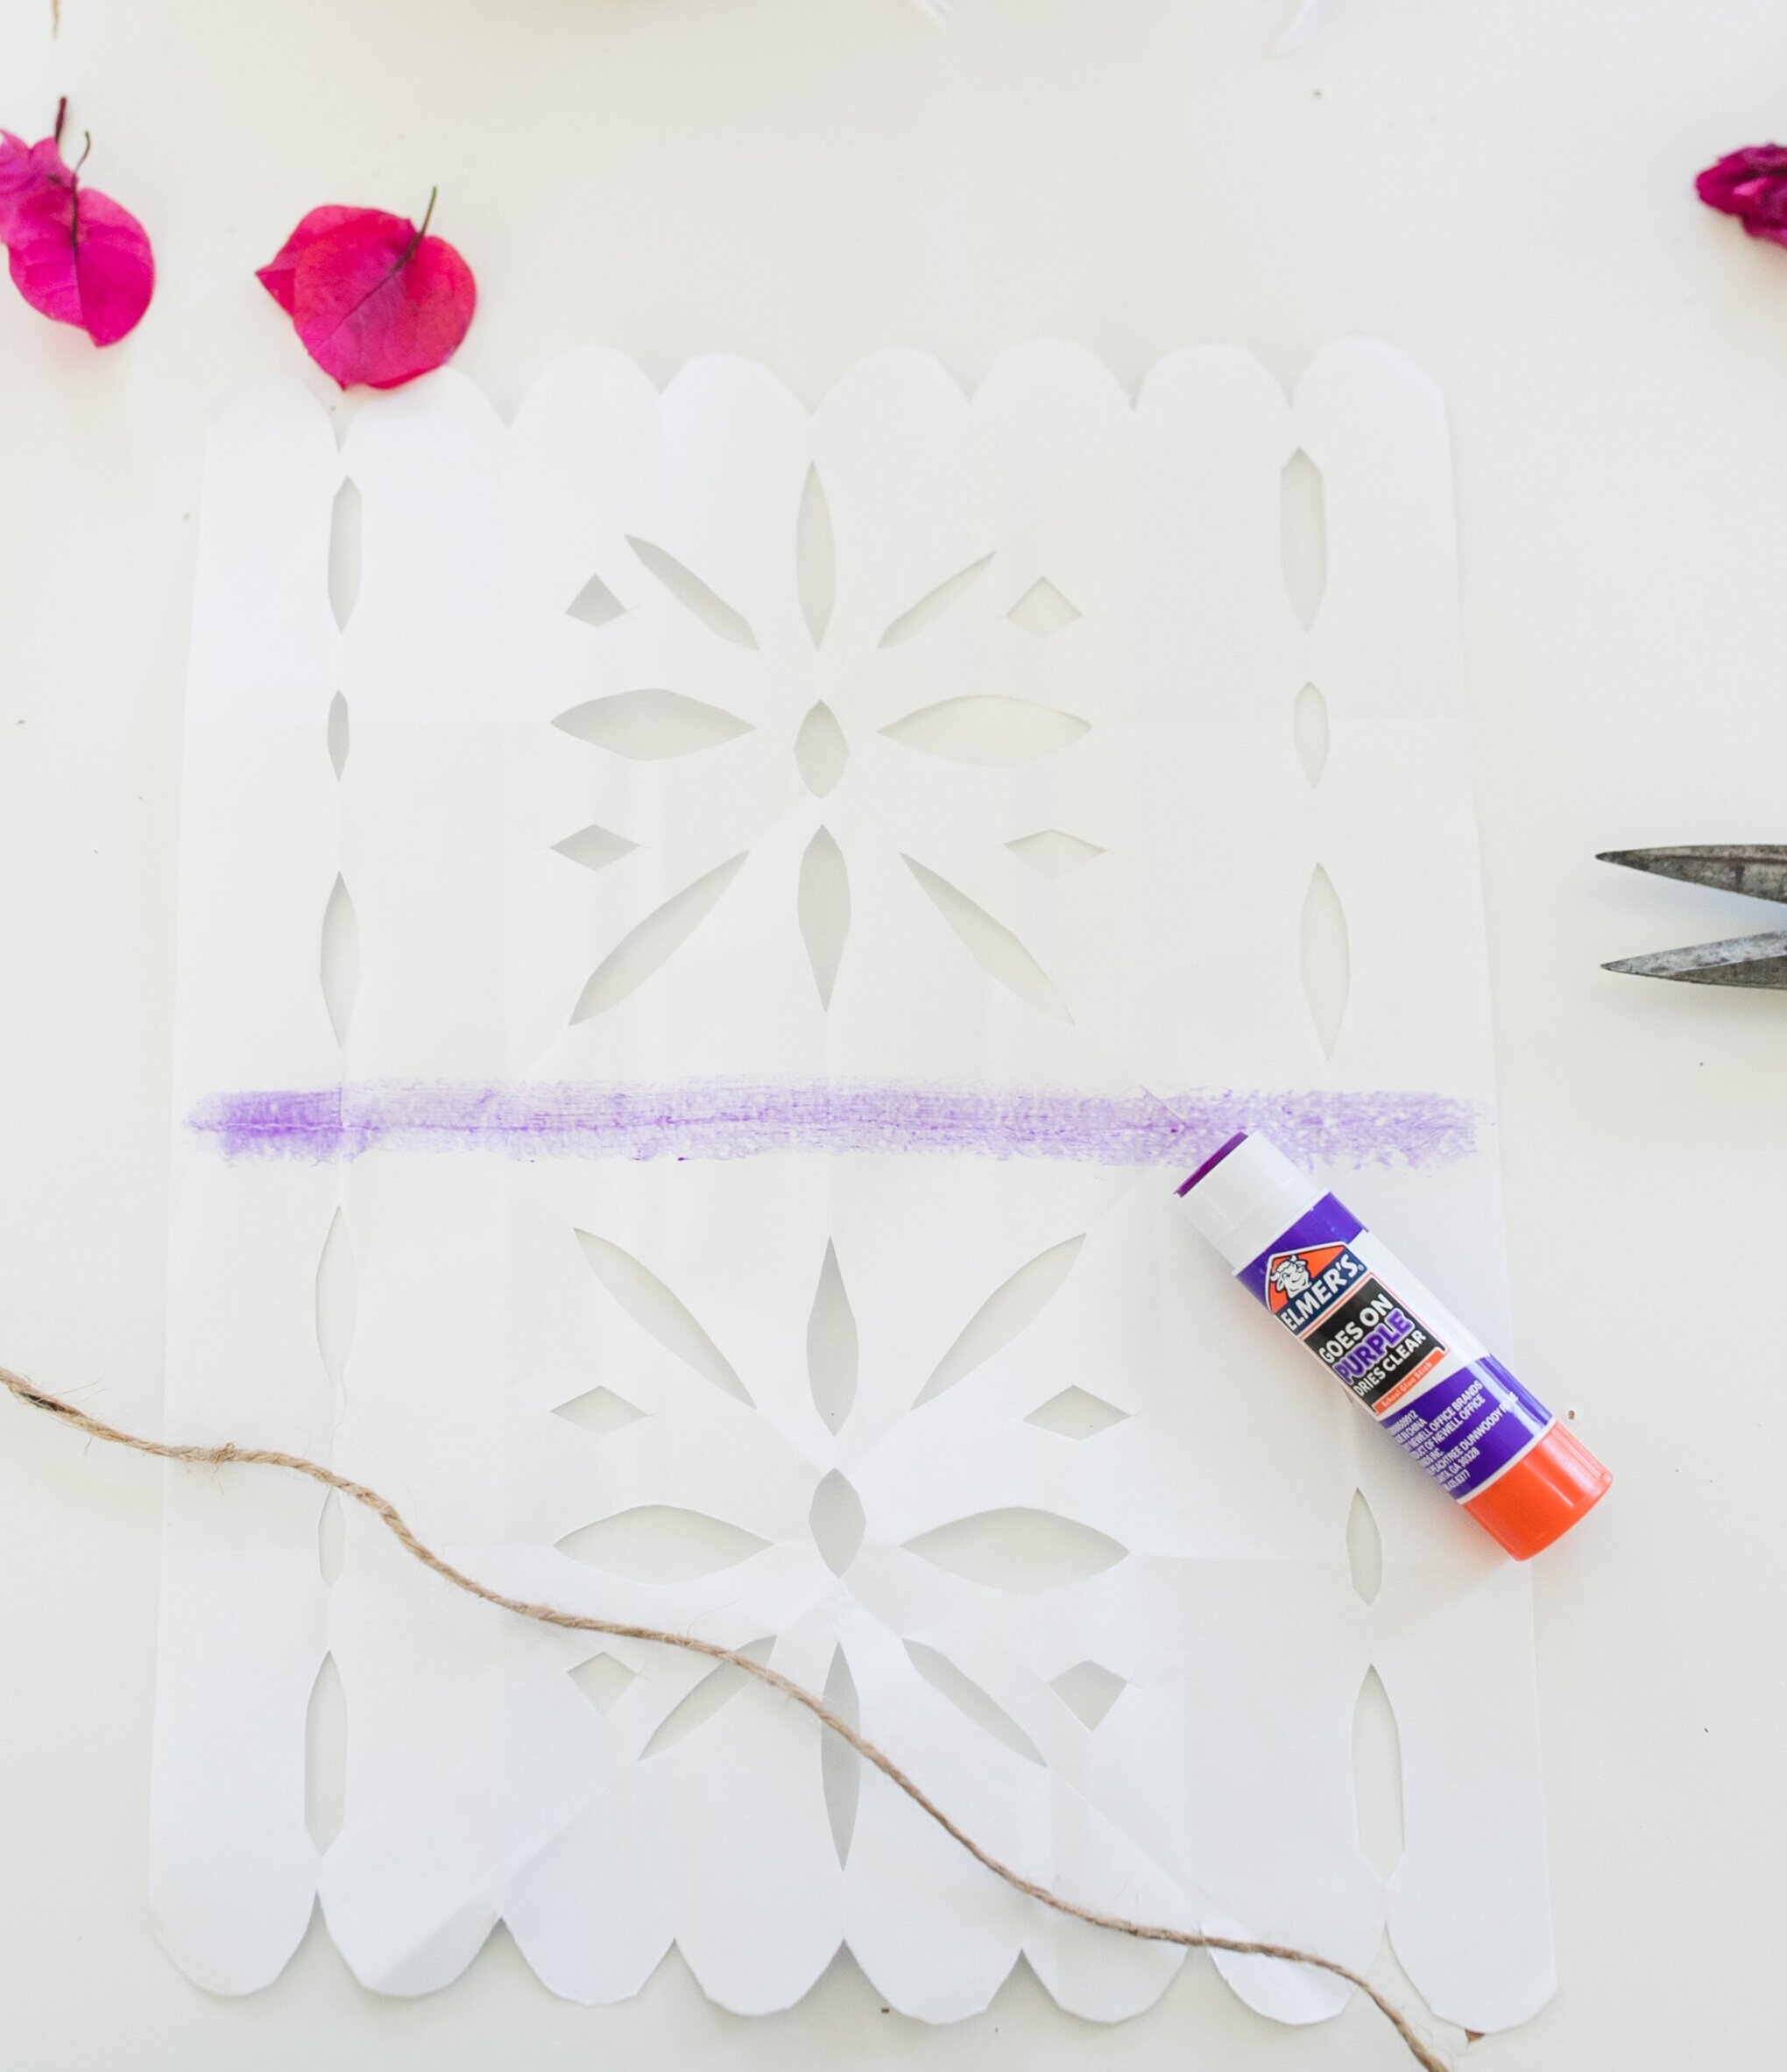
2. To make the center flower design:
Fold your paper in half again and then once more. cut a half circle in the center right along the folded edge. Cut two pedals above and below your half circle. Open that up and take a look! You now want to fold the paper to create your additional pedals: Take a look at those folds in the pictures below. Each fold you make is where you can place a petal, so you can make as many pedals as you want!


3. How to make the outer design
Create a small fold where you want your outer design to hit. Cut another semi circle in the center and two more petals along that edge. Open it up. Once you get the hang of it, you can continue folding wherever you want your designs to be placed and getting creative with your cuts: triangles, squares etc if you want your banners to be more intricate!


Once you get the hang of making your first banner, you can double up your paper and make two at once to go quicker. It starts getting quick and easy once you get the hang of it and its actually really therapeutic for your hands to work while you listen to music/podcast/tv. I made about 10 picado pieces for each banner.

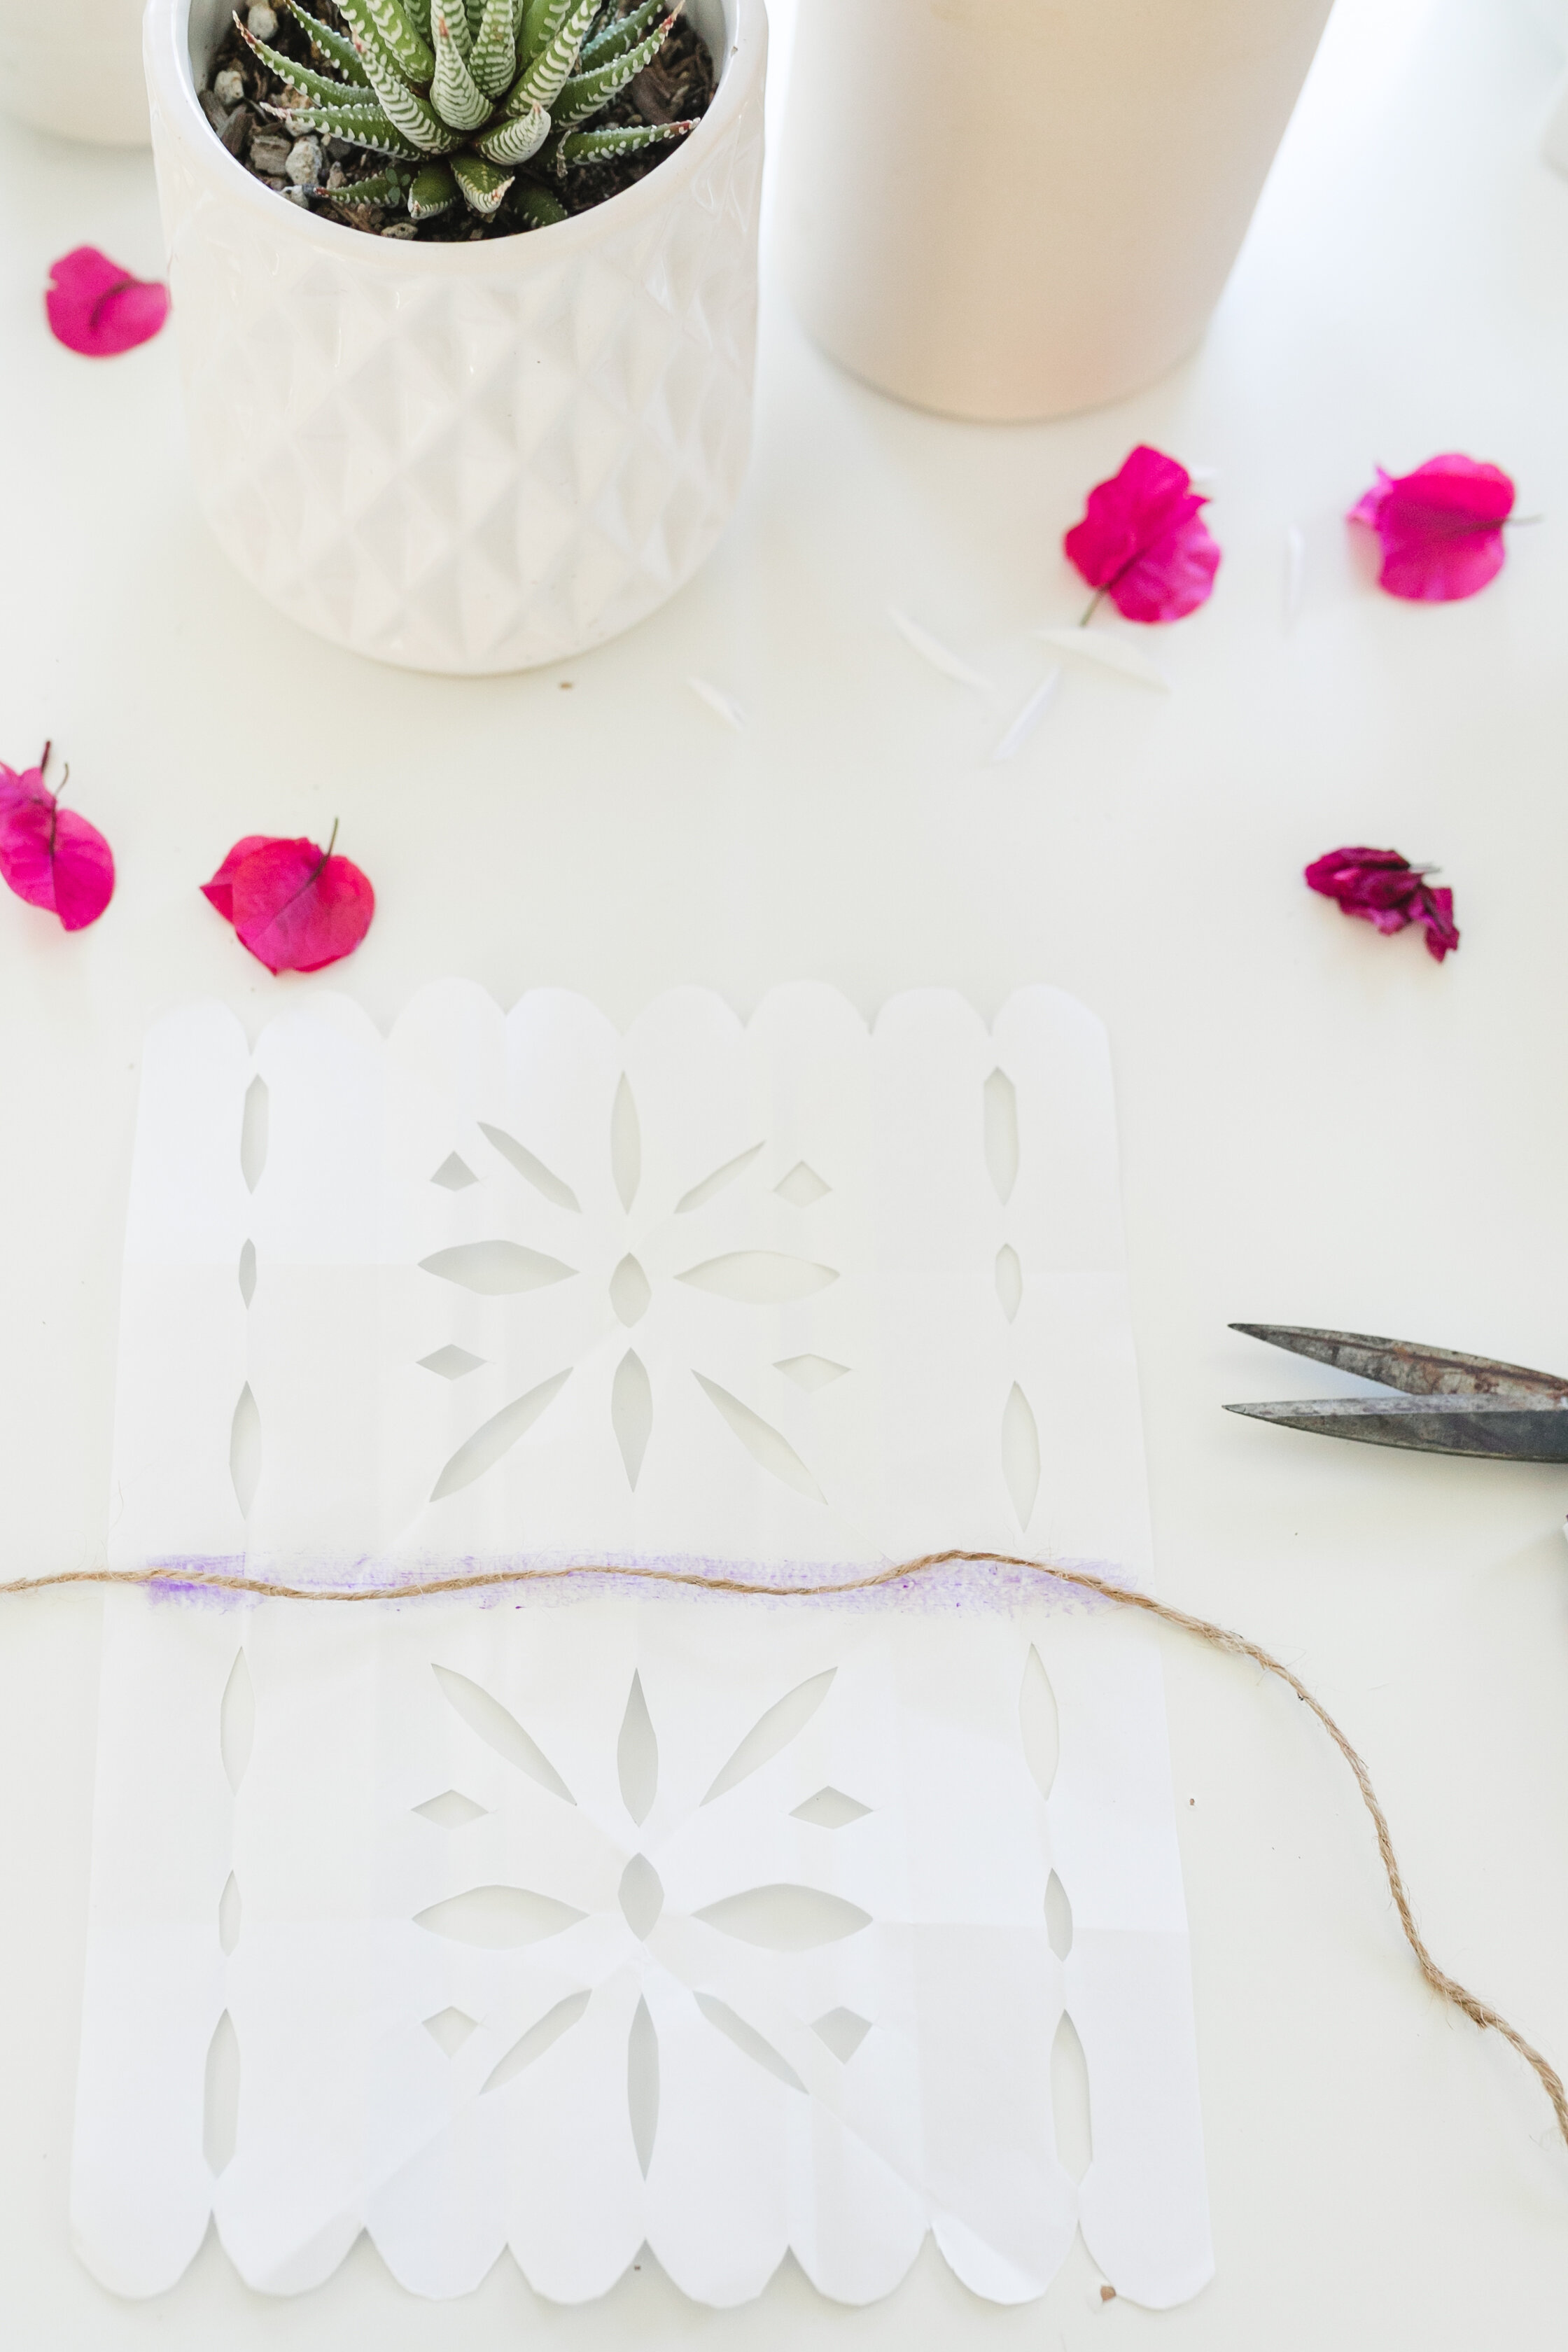
4. To attach your papers to your twine
Open up your banner to the full 8x 10 sheet and place glue along that center line.
Press your twine onto the glue and fold the page over and press along the glue to seal. Continue like this along your strand of twine. You can space the banners close together or further apart depending on your preference. I allowed about a 3-4” inch gap between each of mine.

I hope you guys have so much fun making this craft with your kiddos and I can’t wait to see yours! Don’t forget to tag me on instagram if you share at @amberthrane so I can see and share your projects!
XO,