
at home: the atrium reveal
we recently had to demo out the flooring in the little atrium room in the center of the house that’s open to the sky because when the doors leading out to the space were installed they weren’t properly sealed so a leakage of water molded out the structure causing it to corrode and sag. You can find more about this as well as my original design plan on the blog post: Atrium Design Plan

This atrium is right off our kitchen so i thought it would be fun to design the space to work as additional indoor/outdoor seating where we can have drinks and chat. my design plan is inspired by our recent travels to tulum, mexico and has a very neutral and natural aesthetic. I wanted to keep the main structural elements low-maintenance and simple -so we built smooth stucco bench seating and poured a concrete slab floor with proper drainage so we wouldn’t have to risk any leaking or sagging again. I sketched out the seating and planter idea with a pencil on a piece of paper and my amazing hubs made it happen it even better than i had imagined. He used concrete block for the structure and then we hired our stucco-guy to do all the pretty finish-work which we’ve realized over the years is SOO worth the financial spend because it isnt our forte’,
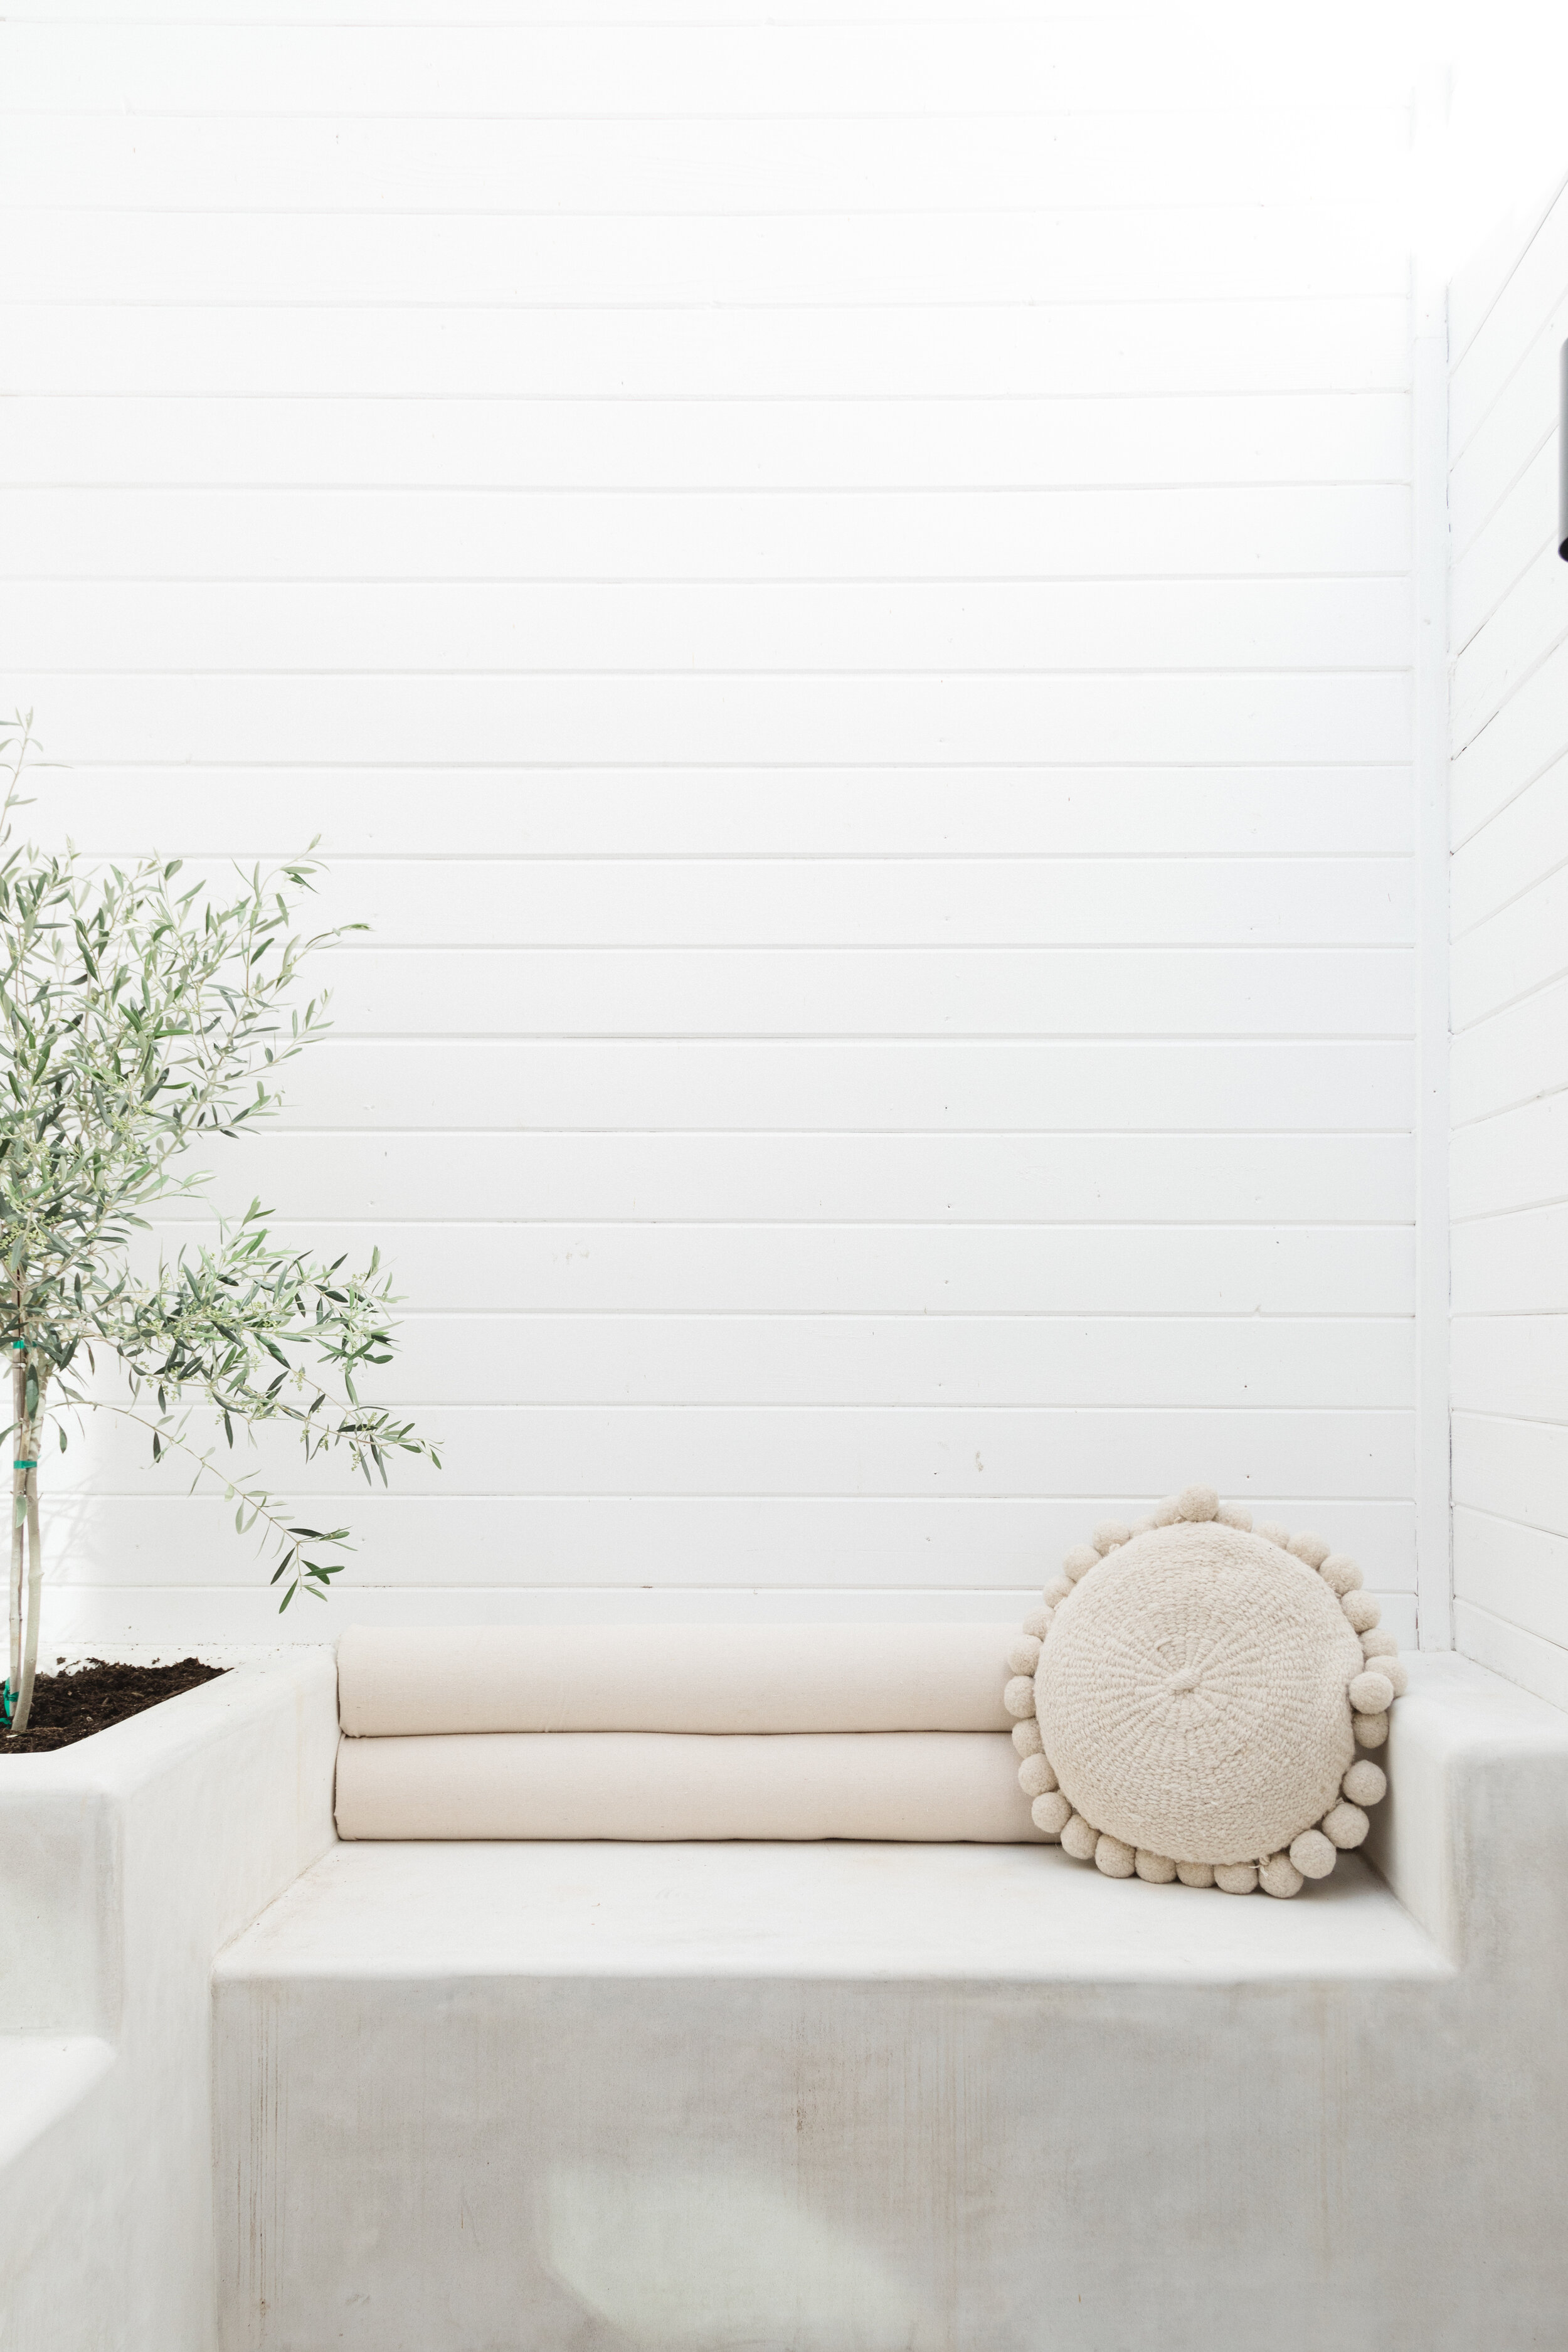

Once you have a minimal structural base you can add-in some interest with different decor elements that you can swap out fairly easy and inexpensively whenever your design taste changes (which for me is pretty often). So i always say: pillows, side tables , plants and art are a fairly low-cost way to layer in your design taste without breaking the bank when you want to switch them out someday. So, right now I’m into wicker, rattan lighting and fun canvas bolster cushions. So I ordered some foam rollers and cut them in half with a bread knife and attached them to a thin plywood and covered them with durable painters drop cloth (these are super cheap at the hardware store i think i only spent 15 dollars on it.) This added some texture and added comfort to the benches.

We found these amazing (extremely heavy) solid stone tables at a thrift store for $100 dollars and i knew they would be the perfect little cocktail/drink table to use and I was SO excited to bring this into the space!
SHOP THE LIGHTS

SHOP DECOR
Cement Bench Materials List
Dimensions 140”x 22” (Bench 1) 60”x22” (Bench 2)
(6) Bags of washed gravel
(60) 6x8x16 cinder block
(12) 4x8x16 cinder block
(8) 90 pound bags of Quikrete concrete
48” Level
Concrete Trowel
Mixing Bucket
Angle Grinder with diamond blade
Measuring Line
Disposable Gloves- (You don’t have to have these but concrete makes your hands severely dry and the gloves help a lot)
Installation tips
You will want to measure the area that you want to construct the bench first and lay out the shape of your final design. use the measuring line to make sure that your lines are straight. it is nice to lay the blocks out to get an idea for how things will look. you may want to change your final design during this stage which is much easier before laying the concrete. the first row is key to the rest of the stack, so you want to make sure it’s level. mix your concrete and begin to set your block in a corner or on an end piece. place some mixed concrete at the base before you set you block and think of the concrete as a sort of “glue” that will concrete your first row to the base. then put concrete on the sides of each block to bind them together. use a mallet to tap the block level. for any cuts, use an angle grinder with a diamond blade and be sure to wear eye protection just in case. we used one row of blocks for the front of the bench and one row for the back of the bench. we poured 4” of concrete in each of the open spaces. for the planters we essentially made an open square and we did two rows of the 6” wide block and then used 4'“ wide block for the 3rd stack to create more space for the interior of the planter. we took the gravel and filled in the empty space and then poured sand over the top to ensure good drainage. be sure to fill the open spaces up to 4” below the top so you can pour concrete to the top of the bench and planters. we tamped down the sand into the gravel before pouring the final four inches of concrete to give a solid top of the bench. we also used concrete to fill in the borders of the planters. once the concrete cured, we had our stucco guy work their magic and create the smooth finish.